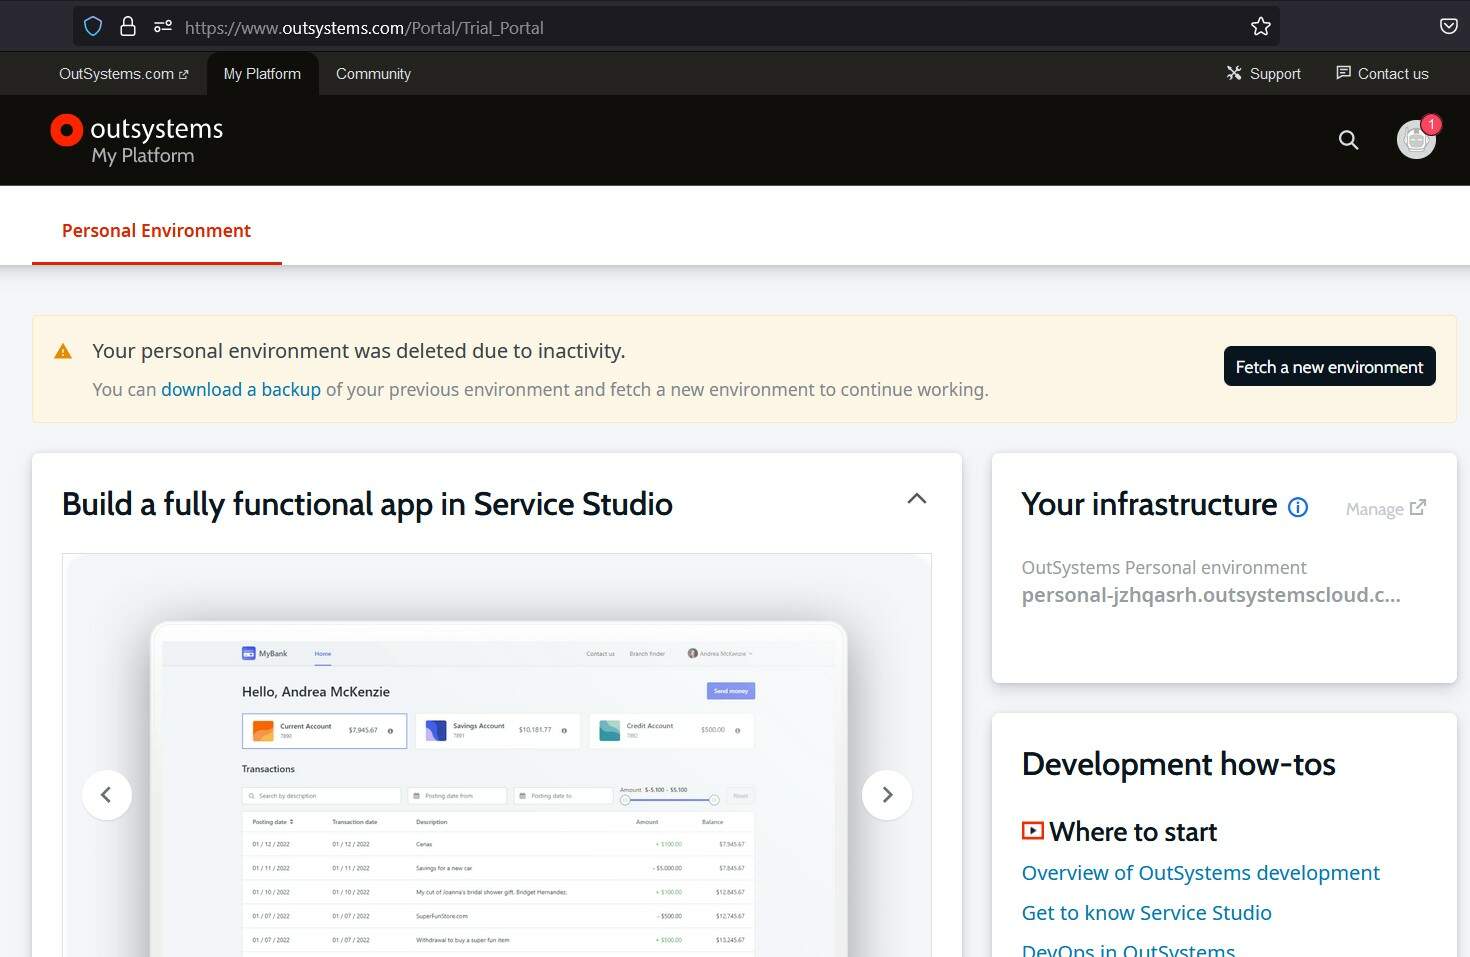
My Environment has been deleted. And now, have I lost everything? 😨
Who has gone through this using the FREE version of Outsystems?? ☝️
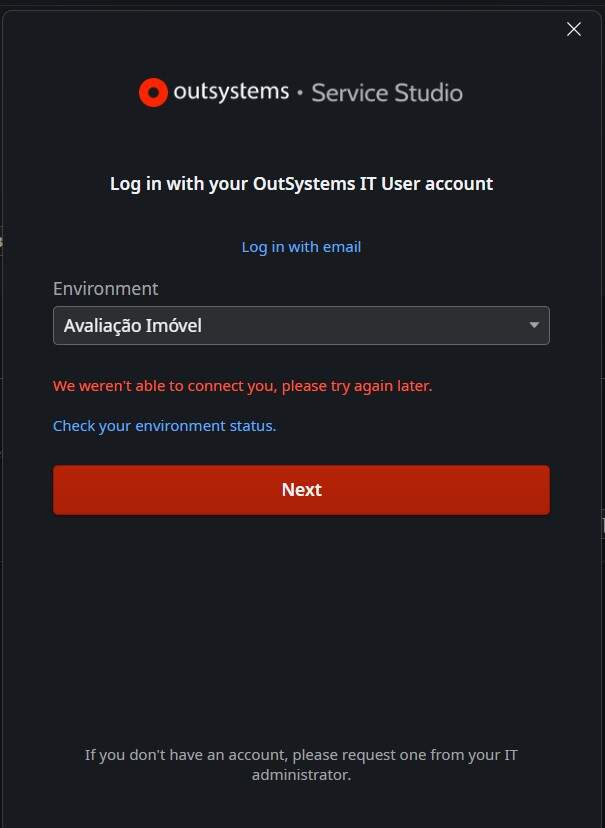
First, the platform notifies that it’s unable to connect to the environment. After opening the link ‘Check your environment status’ and seeing the message below, the world collapses on our heads in a matter of seconds.
It’s truly despairing, isn’t it? Have I lost all my work from days, weeks, or even months? What do I do now, my God?
Alright, I have some good NEWS and some BAD news to share with you.
BAD NEWS
- You forgot that the FREE version of the platform has a feature that puts the environment to sleep due to lack of usage, right? Yeah, if you don’t use it for 15 days to a month, it goes to sleep, giving you a few more days to come back and wake it up; otherwise, it gets deleted in a few more days..
- The tip I give to those using the FREE version of the platform to create their projects, especially if it’s for freelancing, is to constantly BACKUP your DATA.
- The focus of this article is not to show how to backup data, but I can address that in another article in the future.
So, the bad news is yes, you did lose all your DATA if you didn’t back them up.
GOOD NEWS
- Your entire project can still be recovered. 🙏
- The platform notifies that the environment has been deleted; however, it provides the download of all projects that were created in that environment with the possibility to import them into another environment or extract the modules separately, if preferred.
Let’s get down to business. It’s time to recover your project.
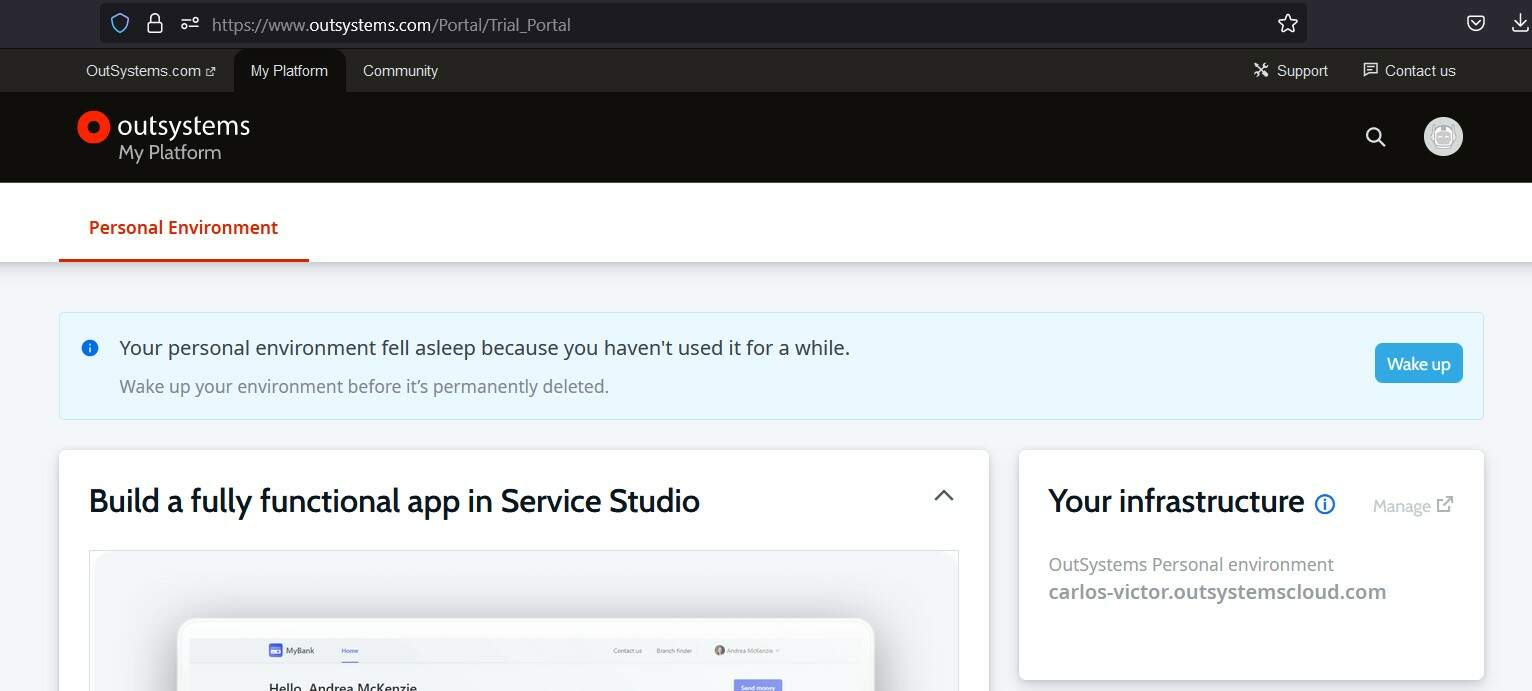
If in your case you see the message “WAKE UP“, give thanks to God because all you need to do is wake up your Environment, and everything will return to how it was before, including the data that was in the database.
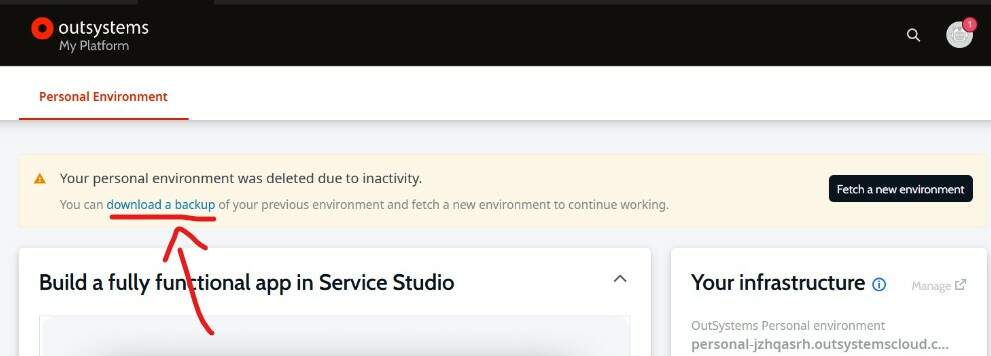
Now, if the message was the one below, let’s go step by step.
Step 1 – Backup Download
Click on the blue link “download a backup” and save the file on your machine.
The downloaded file is of type .OSP (Outsystems Solution Pack).
Step 2 – Create a new Environment
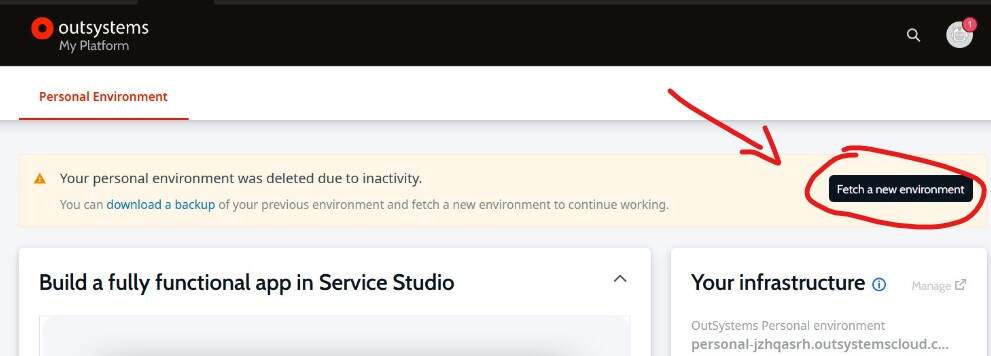
Now that the backup is secured, it’s time to create a new Environment. Do this by clicking on this button:
Done!! New environment created. Let’s import the project from the backup. Follow the next step to do this
Step 3 – Run the downloaded file.
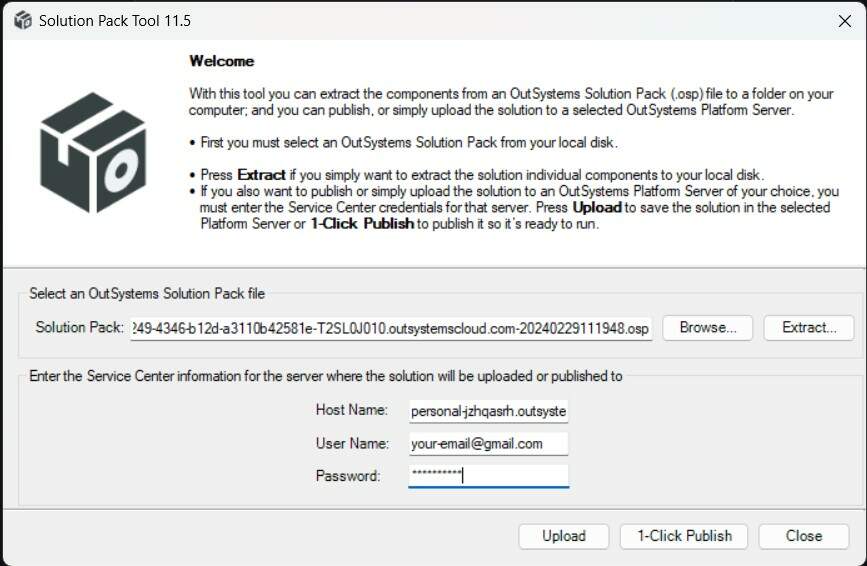
After running the file, the following pop-up will appear:
With this tool you can extract the compoments from an Outsystems Solucion Pack (.osp) file to a folder on your computer and you can publish, or simply upload the solution to a selected Outsystems Plataform Server.
- Provide the address of your NEW Environment.
- Your email
- Your password
- Click in UPLOAD
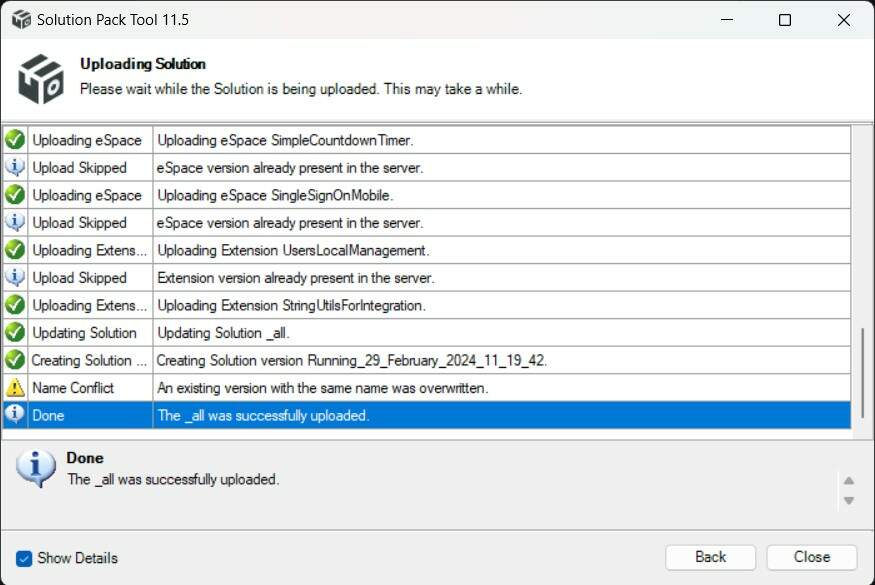
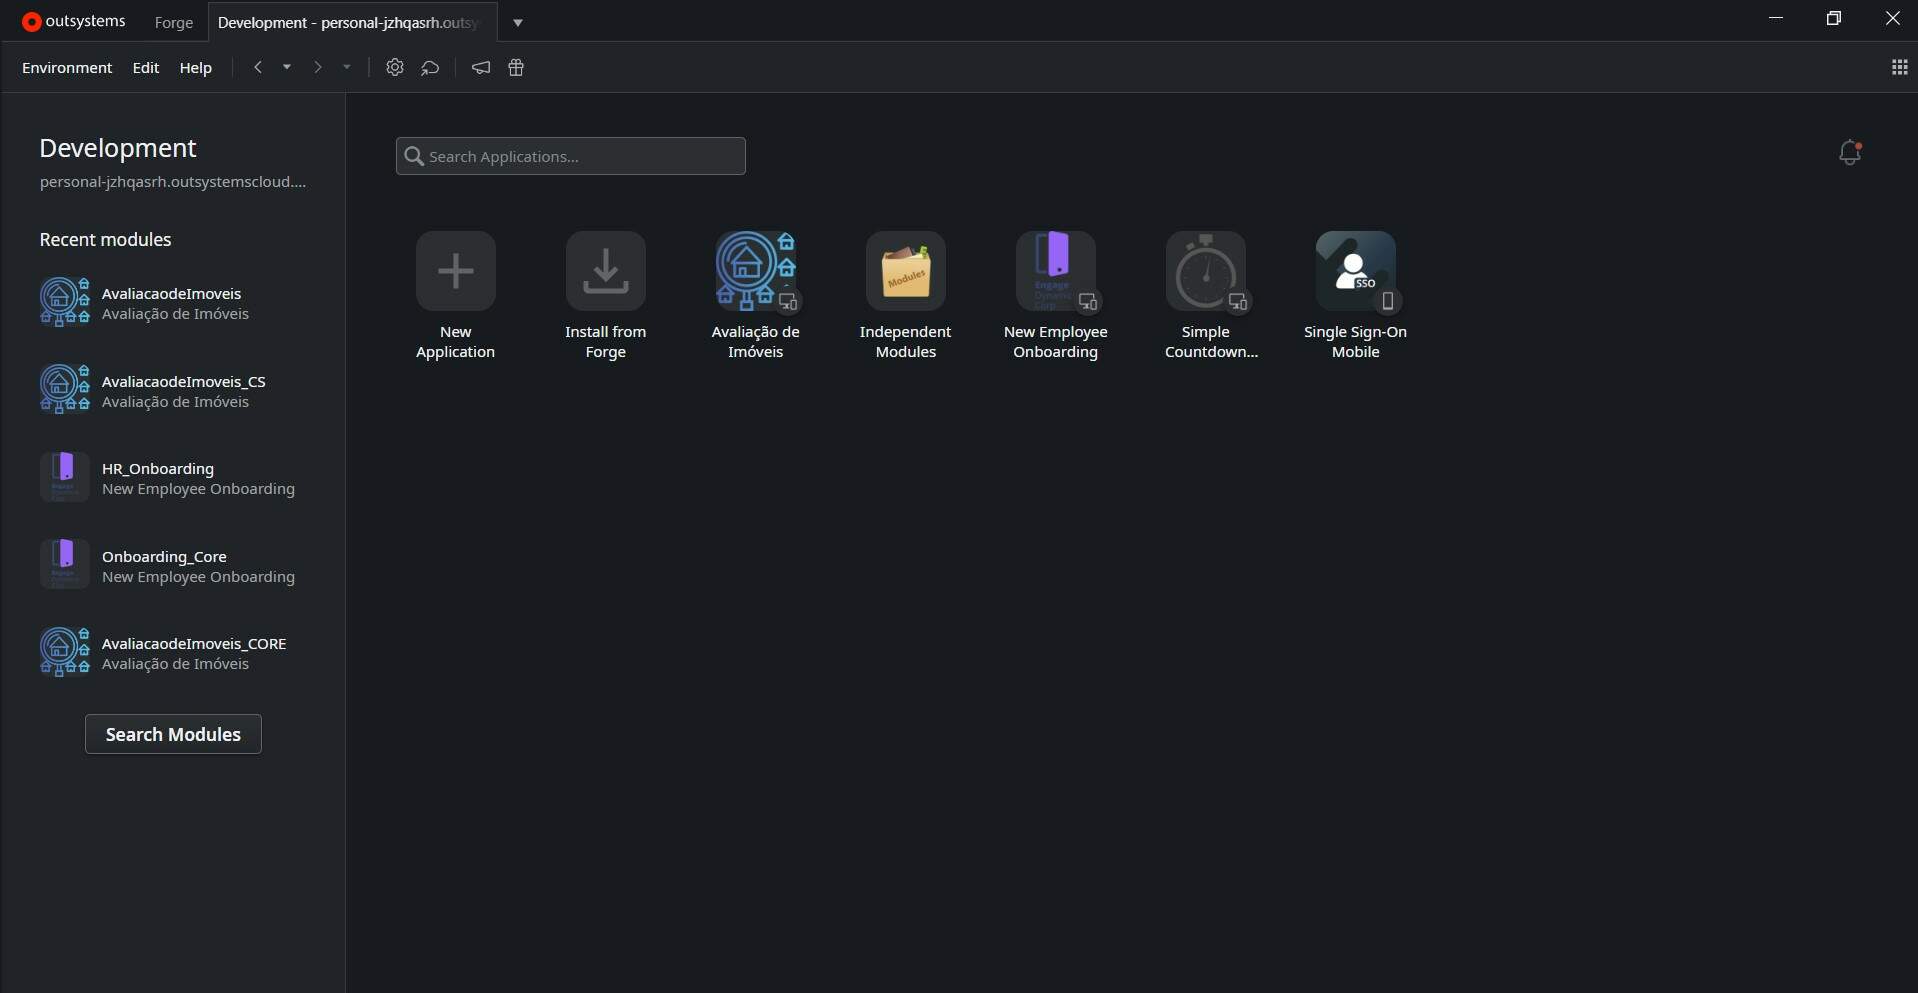
Once the upload is complete, you can click on CLOSE, and let’s open the environment in the Service Studio.
Phew!! What a relief. All projects are back. But wait, we’re not done yet.
Step 4 – Run the project
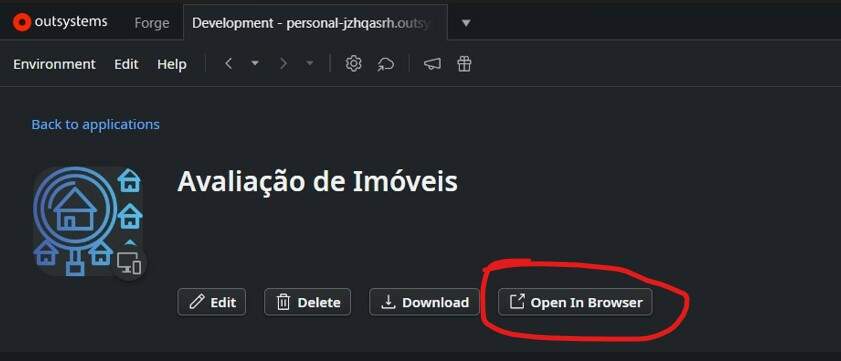
Let’s test our project by clicking on “Open in Browser,” as shown in the image below:
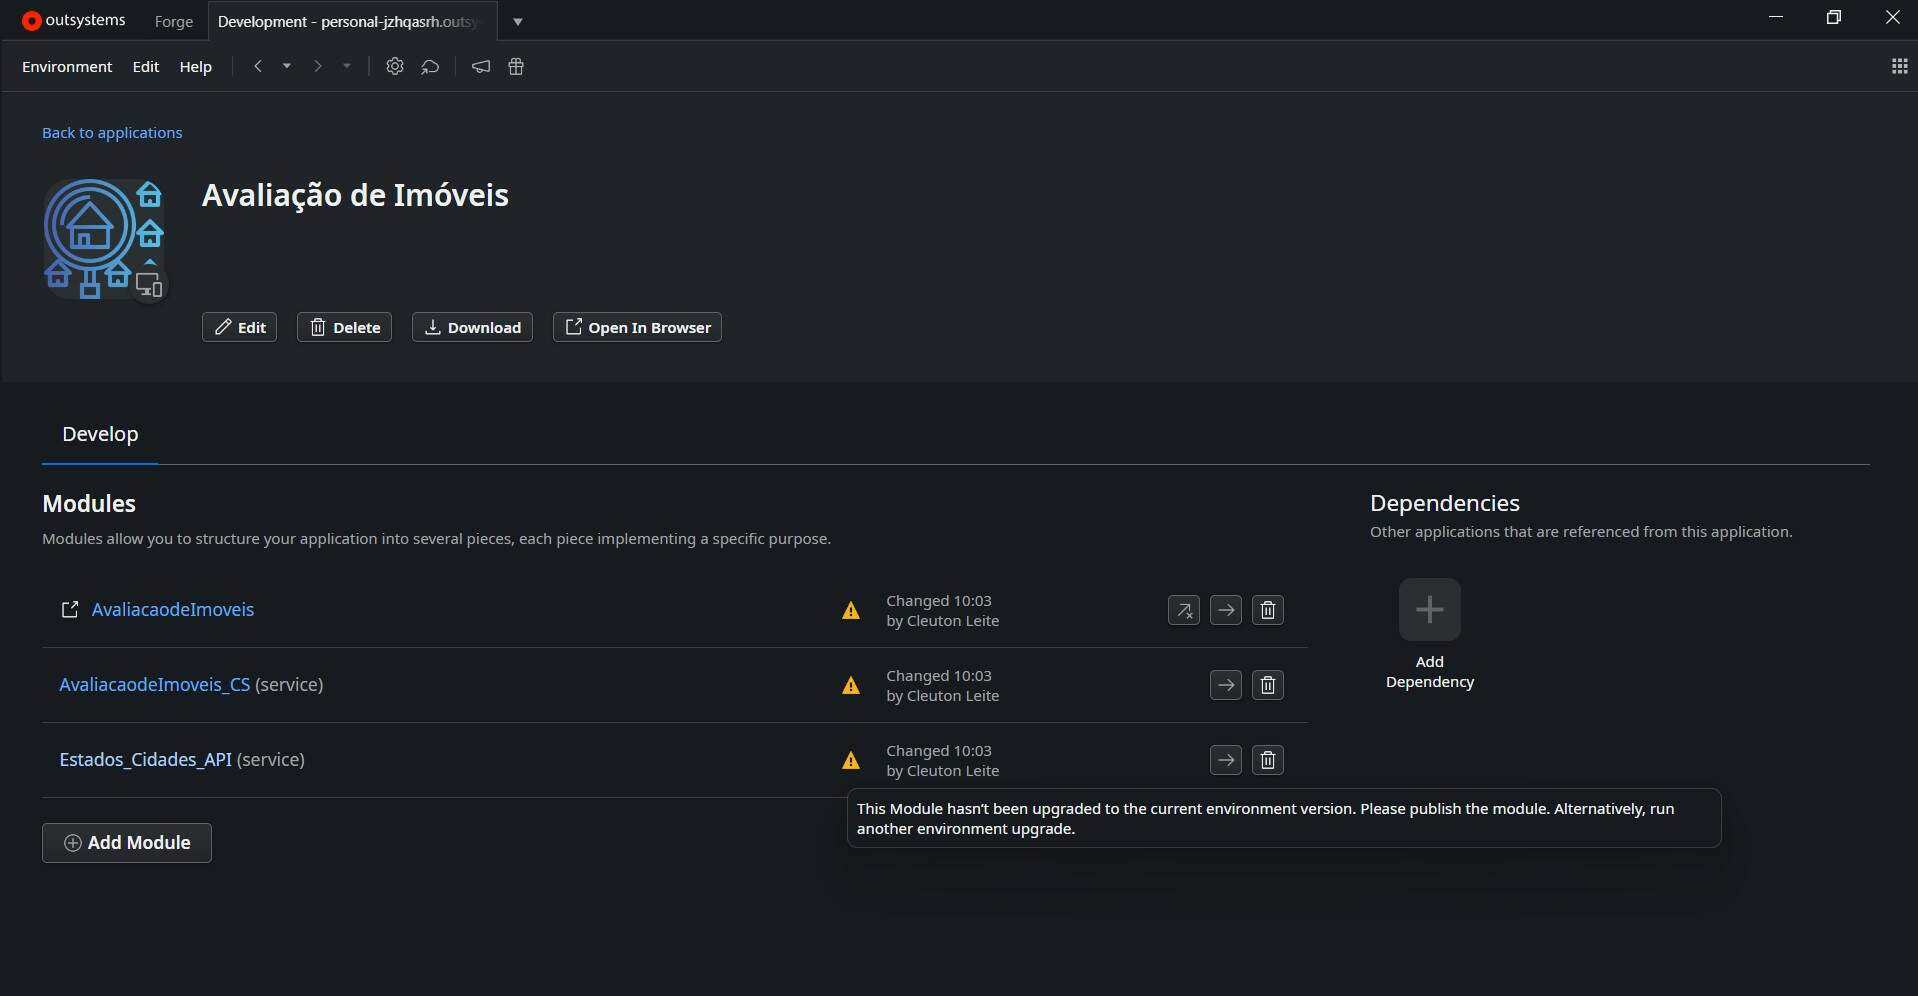
Upon doing so, the image below will appear, and once again despair sets in. My God, everything went wrong. I lost everything! 😭
Calm down!! Everything will be fine… trust me!
Step 5 – Publish the modules in the new environment
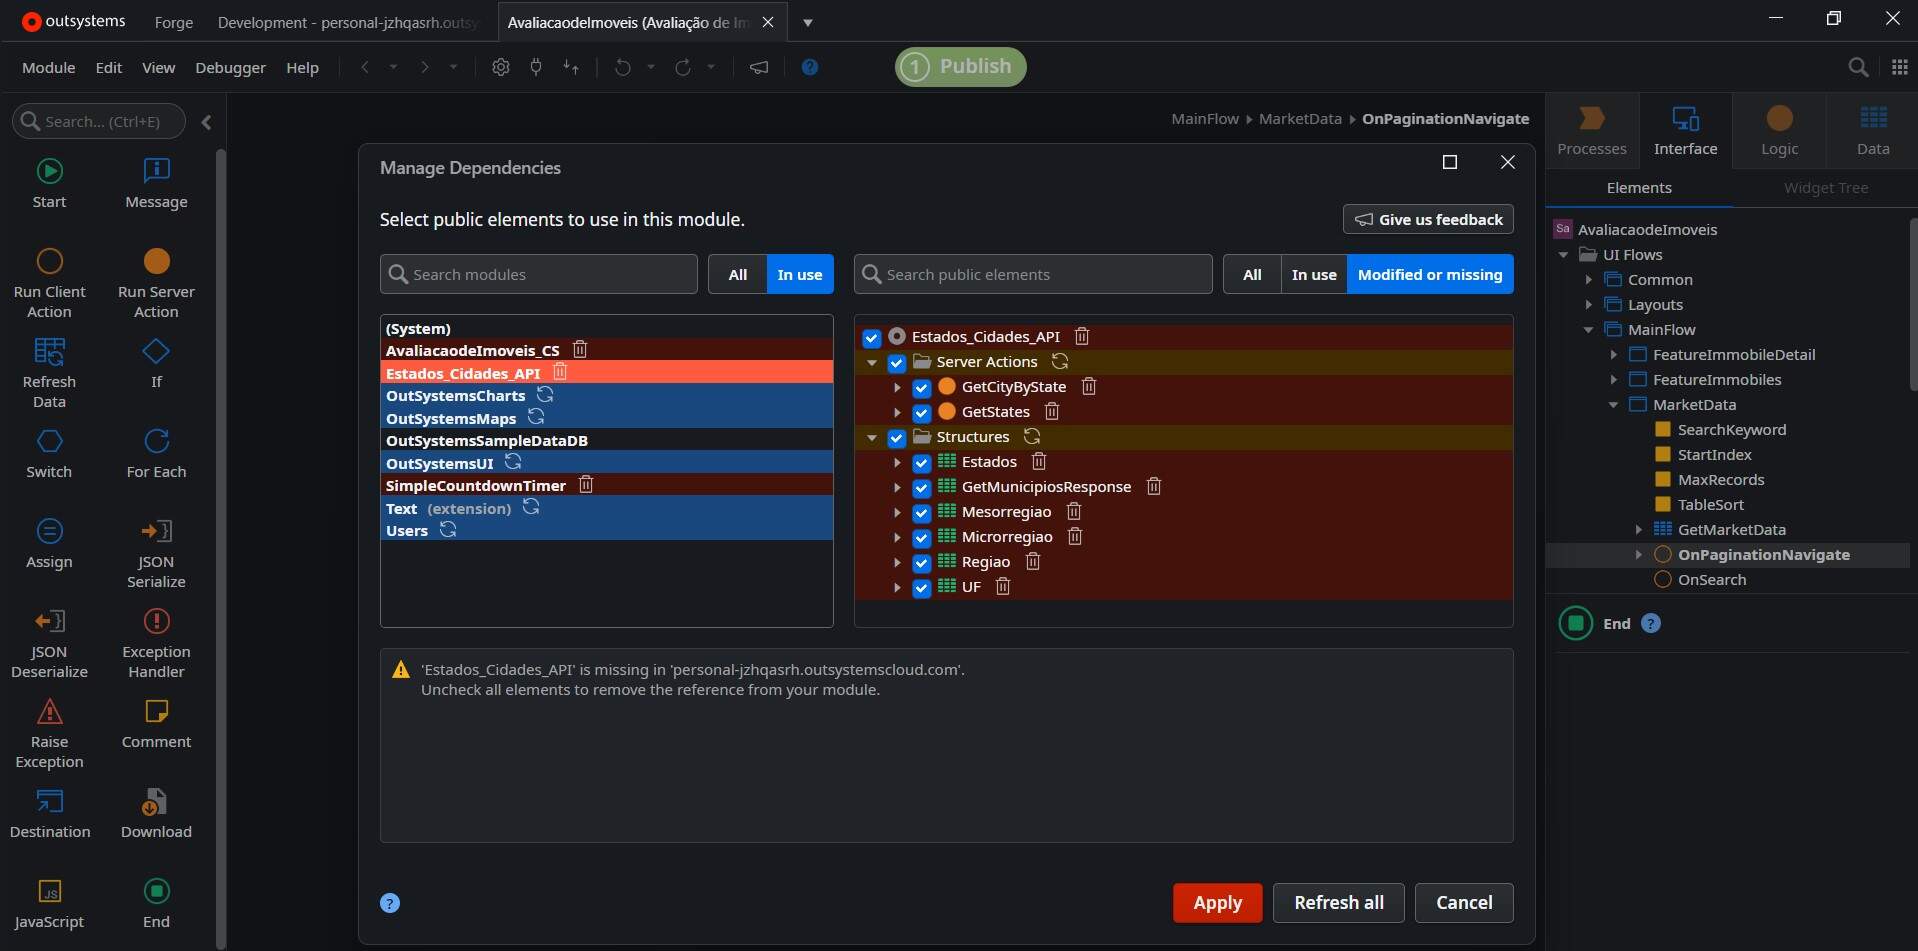
My project has 2 modules that need to be published first, as the main module consumes them. What happens if we try to publish the main module first?
Notice that the dependencies are shown in red, indicating that there are modules being consumed that the current environment doesn’t recognize. This means we first need to publish the modules that are being consumed. And remember, if the system consumes components downloaded from the Forge, those also need to be published to be recognized by the current Environment.
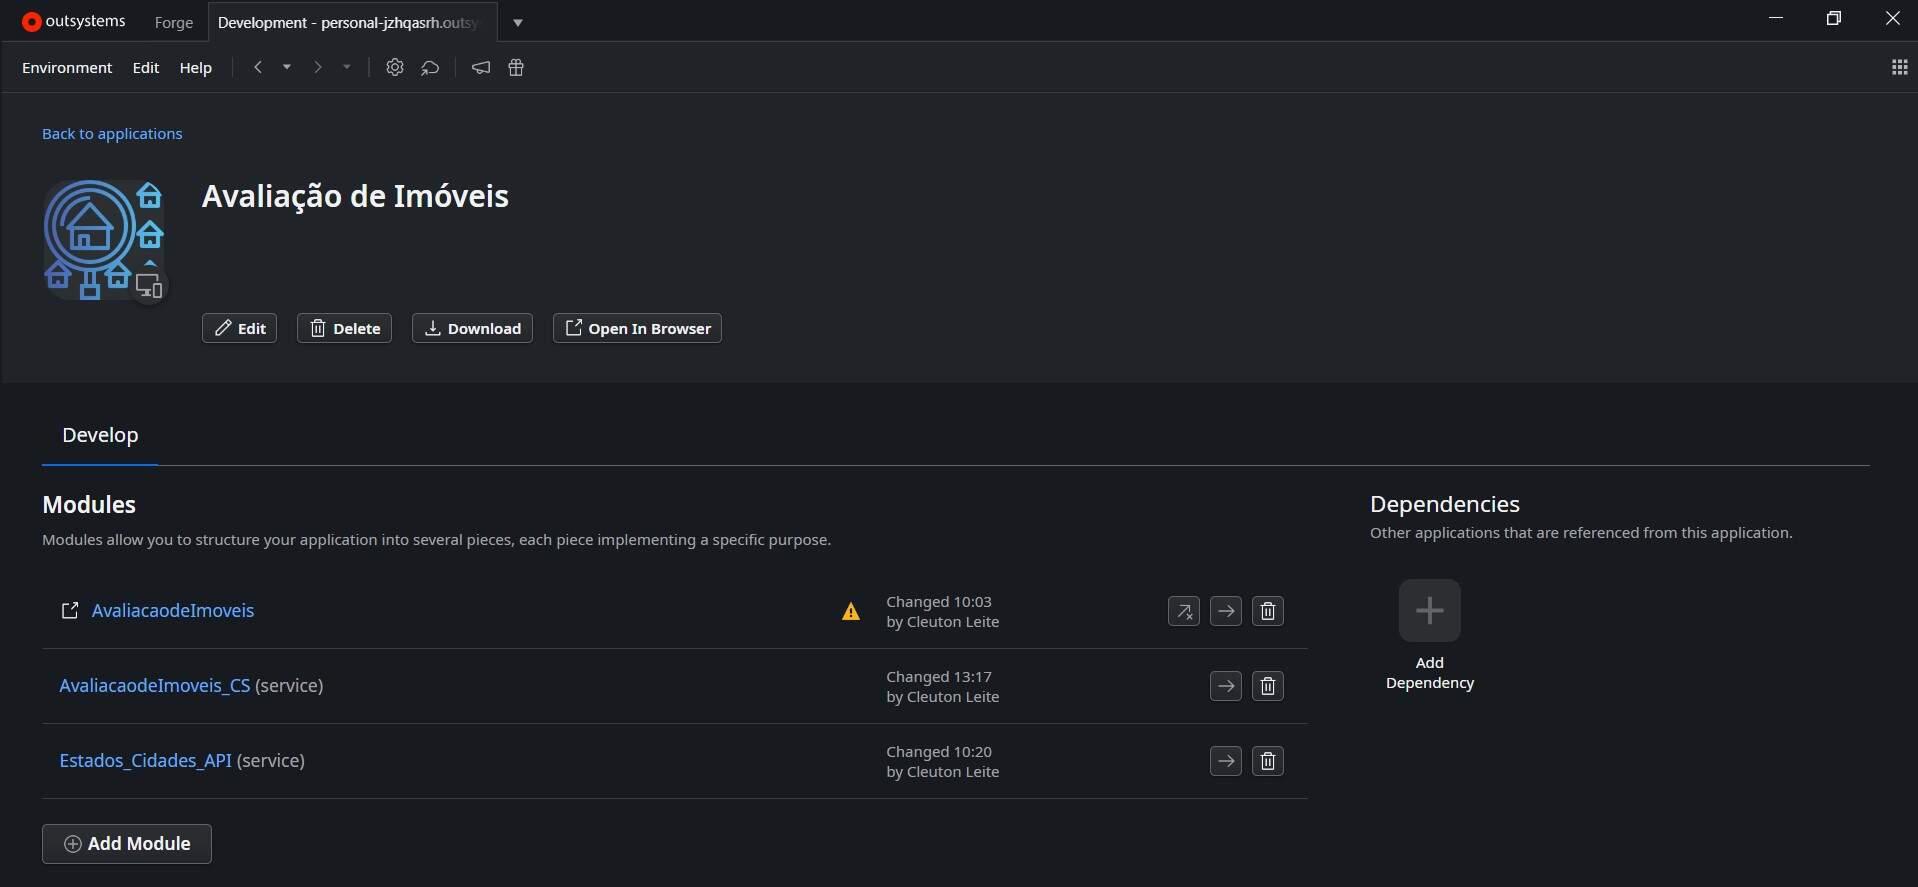
Notice that the _API and _CS modules have been published, and now we can update the dependencies of the main module.
Therefore, after updating all dependencies and publishing all modules, it’s time to test your application in the new environment.
Below is the screen of my recovered system!!
As I mentioned earlier, if there’s a backup of the data, the next step would be to import them.
That’s for a next article!!
#outsystems #lowcode #migration #recover
