Fix Git Self Signed Certificate in Certificate Chain on Windows
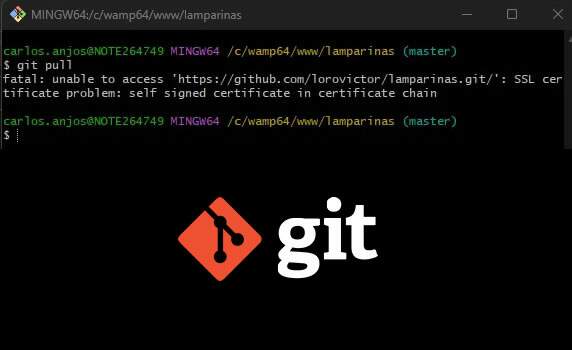
I had a problem recently when doing a git clone or even a git pull and I always received the error message:
SSL certificate problem: self signed certificate in certificate chain
I will list here the steps I took to resolve it:
Step 1 – Export valid certificate from https://github.com
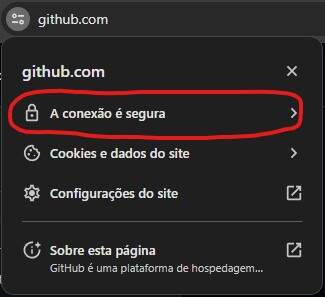
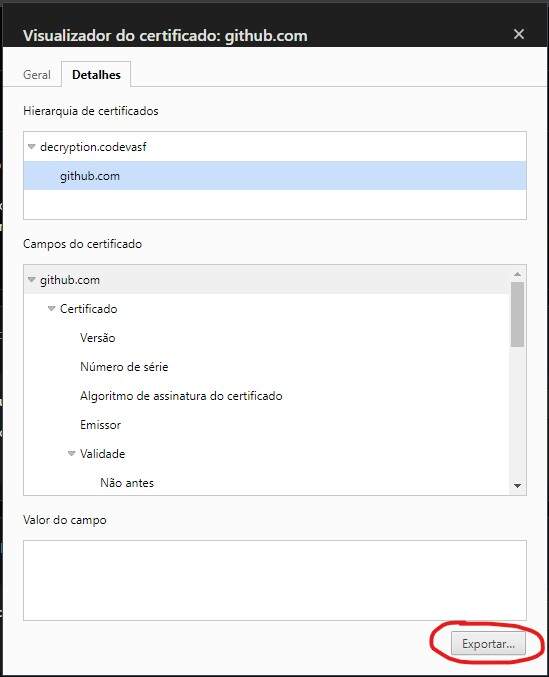
The first thing to do is export the valid certificate from https://github.com. Let’s do this by following the prints below.

Step 2 – Find the ca-bundle.crt file that contains all valid certificates
Git uses a file named ca-bundle.crt to list all the trusted certificates. We can find that file by typing the following in a terminal window:
This tells me my ca-bundle.crt file is listed in C:\Program Files\Git\mingw64\etc\ssl\certs\ca-bundle.crt.
Step 3 – Copy this file to another location
You can use the command above in the terminal or copy via Windows Explorer to the desired folder.
Step 4 – Add the content of the certificate that we exported from github.com into the ca-bundle.crt file
First open the file you downloaded from github.com with an editor of your choice
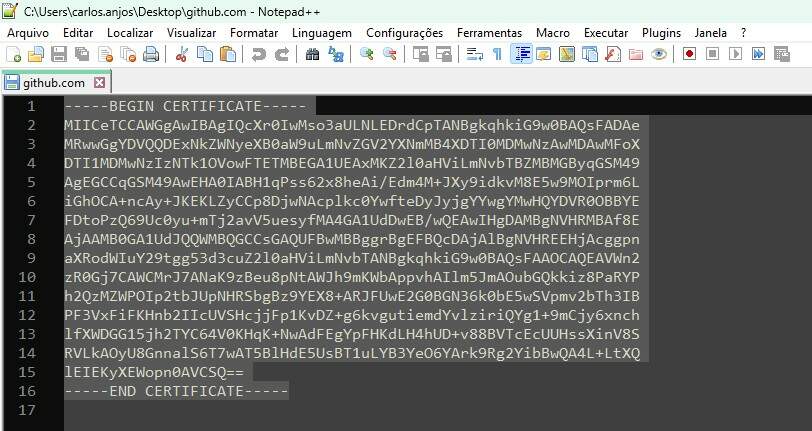
Let’s copy its content and paste it at the end of the file we placed in c:\Git\ca-bundle.crt
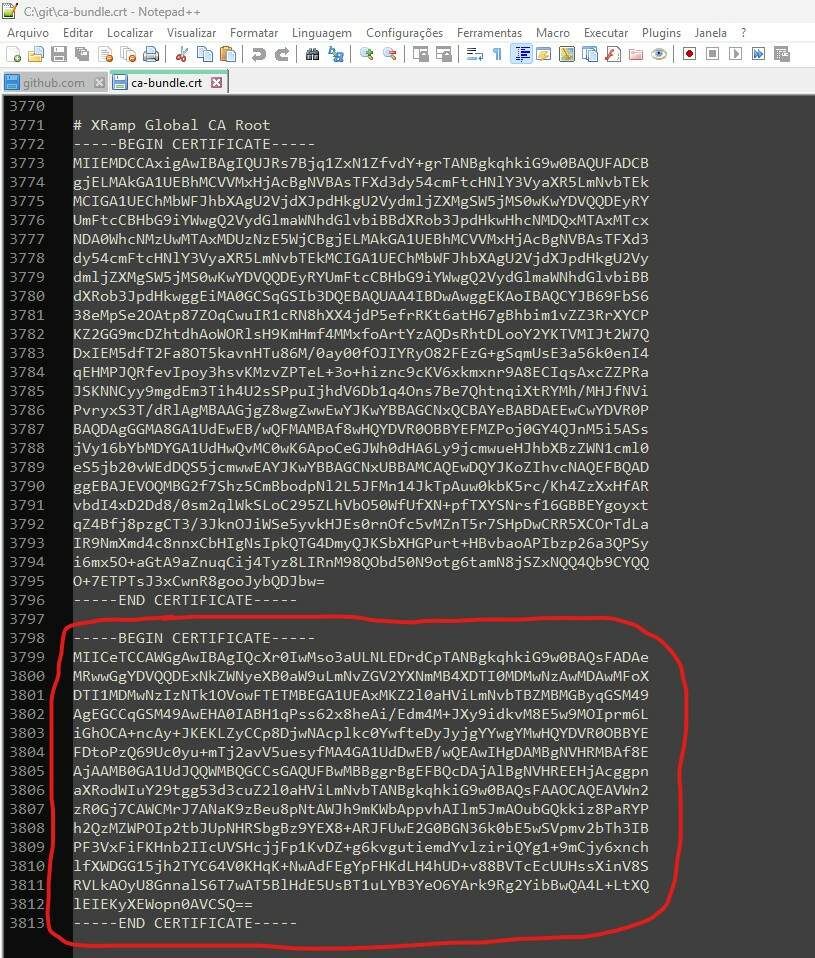
Step 5 – Run GIT configuration to recognize this file that we placed in another directory
One last step to complete! Back in your terminal add the copied ca-bundle.crt to Git’s config.
Still didn’t solve it?

